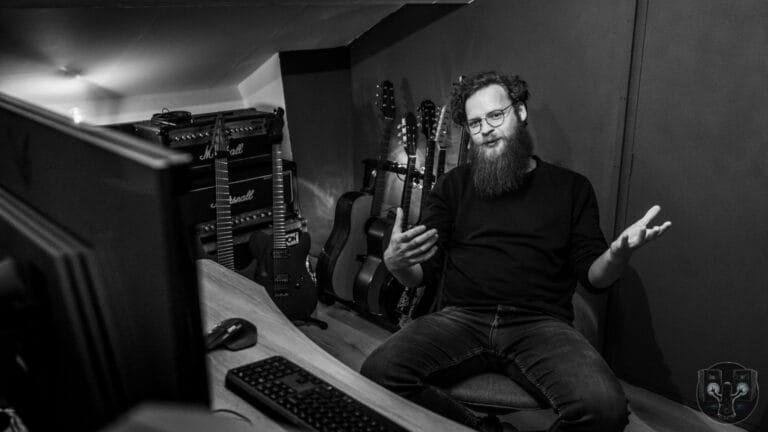
Setting Up Your Recording Space
First of all: You don’t need a huge space to record your music. Especially in this day and age you can record pretty much anywhere. When I started out, I recorded at the kitchen table in my first student home. Only years later I’d have a dedicated room for recording, mixing and producing.
Something to do keep in mind though, is choosing a room that is relatively quiet. A place where you can record without being disturbed by your family, roommates or outside noises.
The other thing is to avoid echoes as much as possible. A room with a lot of soft materials helps. Think about curtains, carpets, a couch or a bed for instance. Acoustic treatment is also an option, of course. But when you’re just starting out it might not be your first priority.
Essential Gear
So we’ve chosen a good place to record your music. Now we have to talk about the gear we need. Luckily, it’s the 21st century and it has never been simpler to record your music.
All you need is a decent laptop or pc, an interface, a microphone if you want to record your voice or an acoustic instrument (more on that later) and the cables to connect it all. Oh, and a pair of monitor speakers and/or headphones. That’s all!
You connect your interface to your computer through USB. If you use mac it’s good to go, for windows you’ll probably need to install some drivers. Check the manual!
If you want to record your electric guitar or bass, you just plug you jack from your instrument directly into the audio interface. For vocals or an acoustic instrument, you connect your microphone with a XLR-cable.
Recording Electric Guitar and Bass
So we quickly mentioned recording guitars and bass in the previous part. Let’s dive a little bit deeper.
So after you connect your instrument to the interface, you want to make sure the levels are good. Generally, for recording I’d advise your input level to be somewhere between -12 and -6 dB. Pick your favorite amp sim and you’re good to go!
It’s also possible to record an amp modeler such as the Quad Cortex, Axe-FX or Line6 Helix. The process is basically the same there: Connect your instrument to the device and the device into the interface. No need for an amp sim this time!
If you want to record a ‘real amp’ you can go two ways:
- Connect the amp to a load box and the load box to your interface. Keep in mind: depending on the load box you might need to also connect a cab!
- Connect the amp to a cab and put a microphone in front of it. Connect the microphone to your interface. More on this in the next segment!
Recording Acoustic Instruments
So what about recording acoustic instruments like acoustic guitar, a violin or your voice? And as I mentioned before: a guitar amp?
You want to connect a microphone to your interface, instead of plugging your instrument directly into it. Which microphone really depends on the source, but there’s a few fan-favorites:
First of all you got the Shure SM-57 is one of the most used all round microphones. Whether it’s a guitar amp, a snaredrum or vocals. It can do pretty much everything
Then there’s the large diaphragm condenser. Doesn’t really matter which one, but it’s definitely a studio staple at this point. Great on recording vocals and acoustic instruments.
Another microphone that is loved by many is the Shure SM7B. Great voor vocals but doesn’t underperform recording an amplifier either!
When you have chosen the right microphone for the job the process is very similar. Just connect it to your interface, engage the phantom power if needed and set the input levels to avoid clipping. Now you can record your next hit song!
Some general tips for Better Recordings
Alright, let’s get some more quick tips out of the way:
- Check your input levels! Make sure it’s neither too quiet or too loud! Avoid clipping at all costs
- Use headphones to prevent feedback when recording acoustic instruments. It also helps to hear details more clearly.
- Record multiple takes. Don’t just delete when you’re not entirely happy. It might save you later.
- Keep your session organized! I’ll talk more about templates in another video
- Warm up before recording. It will make your life easier!
If you want more tips on better home recordings: Download my free e-book now!
So that’s a 101 on recording your own music at home. At a later point we’ll dive deeper into individual subjects so subscribe to the newsletter and you’ll hear from me soon!
– Jochem